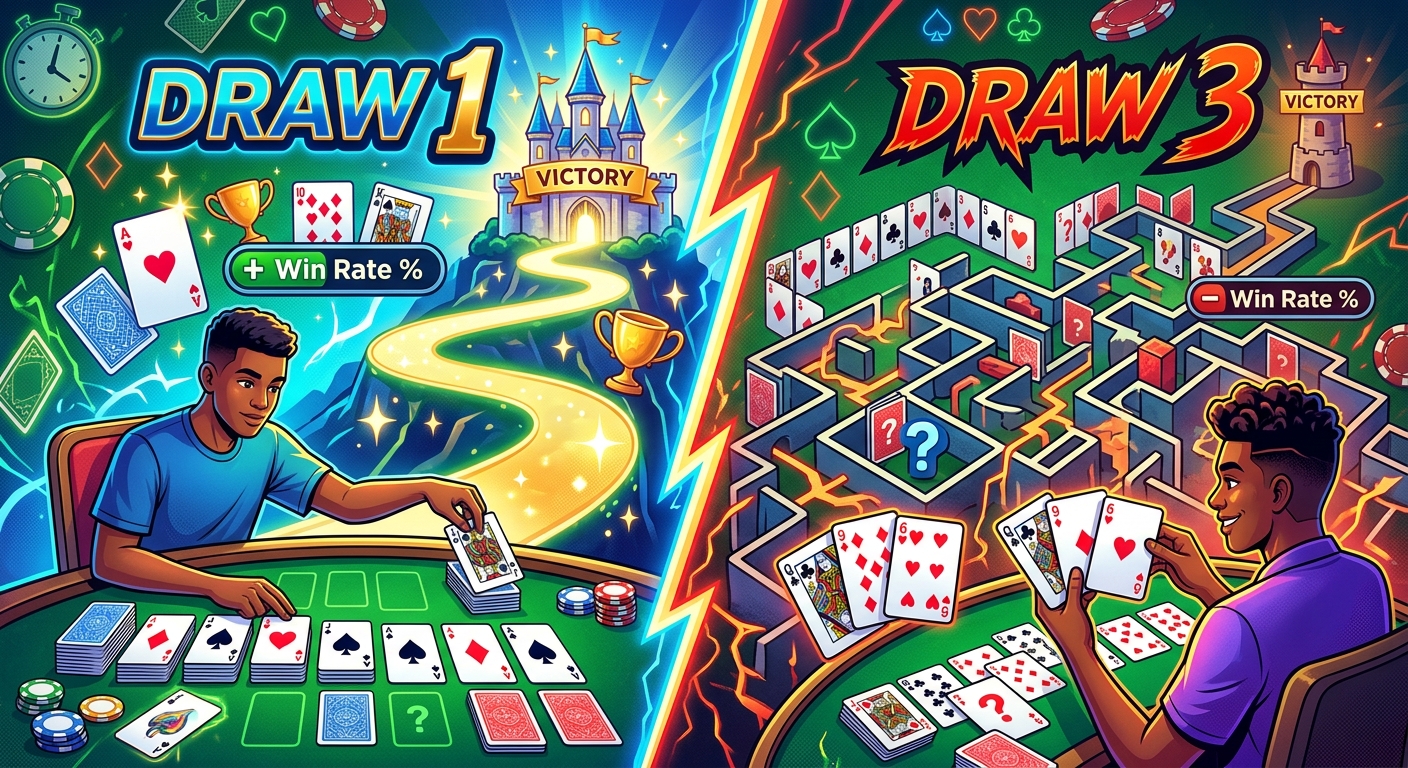
Most players pick their mode at the start of a session without much thought. Harder mood? Draw 3. Want something calmer? Draw 1. But the split between these two formats runs far deeper than a difficulty preference. The mode you choose determines how many cards you can reach on each pass through the stockpile, how often you will be stuck cycling through dead draws, and how realistic a win actually is. Getting clear on that difference means you stop treating the mode picker as a mood selector and start using it as the strategic decision it genuinely is.
Mode at a Glance
Draw 1 and Draw 3 create fundamentally different games, not just different difficulty levels.
- Draw 1 exposes every stockpile card on a single pass, while Draw 3 limits you to roughly one-third of them per cycle.
- Theoretical win rates in Draw 1 run three to four times higher than in Draw 3.
- The right mode depends on whether you want achievable wins or a deeper strategic puzzle.
The Mechanical Difference That Drives Everything Else
Klondike's stockpile holds 24 cards at the start of each game. When you run out of useful moves in the tableau, you flip cards from this pile to find new plays. The mode you have selected controls how many cards you flip at once.
In Draw 1, you flip one card at a time. You see it, decide whether to play it, and move on. By the end of a single pass through the stock, you have seen and evaluated all 24 cards. Nothing is hidden behind cards you cannot touch yet.
In Draw 3, you flip three cards simultaneously. Only the top card of that group is available to play. If it has no home in the tableau or foundation, you flip the next batch of three, and the previous cards become inaccessible until you complete a full cycle and start again. For a detailed breakdown of how the structural rules of each format work, Turn 1 and Turn 3 Solitaire covers both modes in clear terms.
That single-card-versus-three-card flip is the root of every strategic and probability difference between the modes.
How Card Starvation Compounds Over Multiple Passes
In Draw 3, the locked-away problem does not clear up after one pass. It stacks. Because the three-card grouping is fixed within each pass, you see the same cards in the same inaccessible positions on every cycle until the offset shifts. In a standard unlimited-redraw game, the offset moves by one position each time you restart the stock. That means it takes three full cycles through the entire 24-card deck before every card has served as the top of its group at least once.
Three full deck cycles is a long time to wait for a card you needed 20 minutes ago. Every pass where your needed card is buried two positions deep is a pass where the stock yields nothing useful. That is a meaningful drag on both pace and winning odds.
Draw 1 has no equivalent bottleneck. You see every card on every pass. You may not be able to play all of them, but you can fully assess the situation each time you exhaust tableau moves.
Win Rates Across Both Modes
The Gap Between Perfect Play and Human Play
Win rate data for Klondike has attracted genuine mathematical interest, and the numbers tell a stark story. Drawing on probability data from research into the game, theoretical winnability in Draw 1 sits between 35 and 43 percent when every possible move is made optimally. That is already below even odds, which reflects the hard reality that some shuffles simply cannot be solved regardless of skill.
In Draw 3, theoretical winnability drops dramatically, landing in the 8 to 11 percent range under the same perfect-play conditions. Human players, making realistic decisions without full knowledge of every face-down card, perform lower still. The gap between modes is not a small step. It is a cliff.
Draw 1 vs Draw 3: Side-by-Side Numbers
| Category | Draw 1 | Draw 3 |
|---|---|---|
| Stockpile cards accessible per pass | All 24 | ~8 (every third card) |
| Theoretical win rate (optimal play) | 35 to 43% | 8 to 11% |
| Typical human win rate | 15 to 25% | 5 to 8% |
| Full deck cycles to expose all cards | 1 | Up to 3 |
| Suited to beginners | Yes | No |
| Strategic depth | Moderate | High |
Breaking the Cycling Deadlock in Draw 3
Draw 3 players know this experience well. You keep passing through the stock, the same cards keep appearing in the same blocked positions, and the game has ground to a halt. Managing this trap takes a deliberate method rather than hoping the deck reshuffles in your favor.
- Exhaust every tableau move before touching the stock. Each card you shift in the tableau changes the landscape and may open up stock cards that were previously useless.
- Build a mental inventory of buried cards. After your first full pass, you know which useful cards are sitting one or two positions below the top. That tells you roughly how many more cycles stand between you and the plays you need.
- Resist moving low cards to the foundation too early. Cards sitting in the tableau give you more bridging options. Sending them to the foundation prematurely removes flexibility you may need to shift the deck's offset in your favor.
- Call unwinnable games sooner. Three or more full cycles with zero progress is a reliable signal that the game has no viable path forward. Starting fresh is not giving up. It is an efficient use of your session time.
Strategy Adjustments Worth Making in Each Mode
Draw 1 and Draw 3 reward different habits from the very first move. Knowing these adjustments before you sit down saves a lot of mid-game confusion.
In Draw 1, the priorities are:
- Flip face-down tableau cards as aggressively as possible. Every revealed card expands your options and reduces the number of unknowns you are working around.
- Build tableau sequences with patience, since full card visibility allows you to plan several moves ahead without guessing at what is buried.
- Treat empty columns as long-term assets. Filling one with a weak king and no meaningful sequence behind it wastes a resource that becomes rare later in the game.
In Draw 3, the priorities shift toward constraint management rather than direct building:
- Test every planned move against whether it improves stock access on future cycles, not just whether it solves an immediate tableau problem.
- Guard empty columns with particular care. Filling one impulsively with a low-value king is one of the fastest ways to eliminate a path that was still open.
- Stay patient with the foundation. Holding cards in the tableau longer gives you more intermediate moves during slow cycles when the stock produces nothing playable.
Matching the Mode to Your Goals as a Player
Draw 1 is the stronger choice if you are still developing your understanding of Klondike. The higher win rate is not just more satisfying in the moment. It means you regularly reach the middle and closing phases of a game, which is where tableau management and foundation sequencing actually get built as skills. Players who spend all their time in Draw 3 often have a gap in their game precisely because they rarely see those final stages.
Draw 3 becomes worth the steep win-rate penalty once you have a solid base in place. The constrained card access forces a quality of planning that Draw 1 never demands. Winning a Draw 3 game carries real weight because it required genuine multi-cycle foresight, not just a favorable starting shuffle.
A practical path: play Draw 1 until your win rate settles consistently between 20 and 25 percent. That is a reliable benchmark for having internalized the game's core mechanics. Then move to Draw 3 with that foundation behind you. The first few sessions will feel punishing. But the conceptual tools built in Draw 1 carry over directly, and improvement in Draw 3 comes faster than starting the harder mode from scratch.
The mode you pick sets the terms of every game you play from the first card flip. That choice is worth making deliberately.